Our lil man is such a monkey. He climbs onto everything. The time had come to take his bumpers out of his crib, so they wouldn't become step-ladders! BUT- I love the patterns & colors of them & just didn't want to throw them in the trash or hide them in the closet. After searching the wide world of the web, I found a lot of great uses for them, but none that I really liked. I realized that his room was seriously lacking in wall decor/art. SOOOOO- I decided to frame the fabric that I loved so much!!
Here's the said bumpers BEFORE:

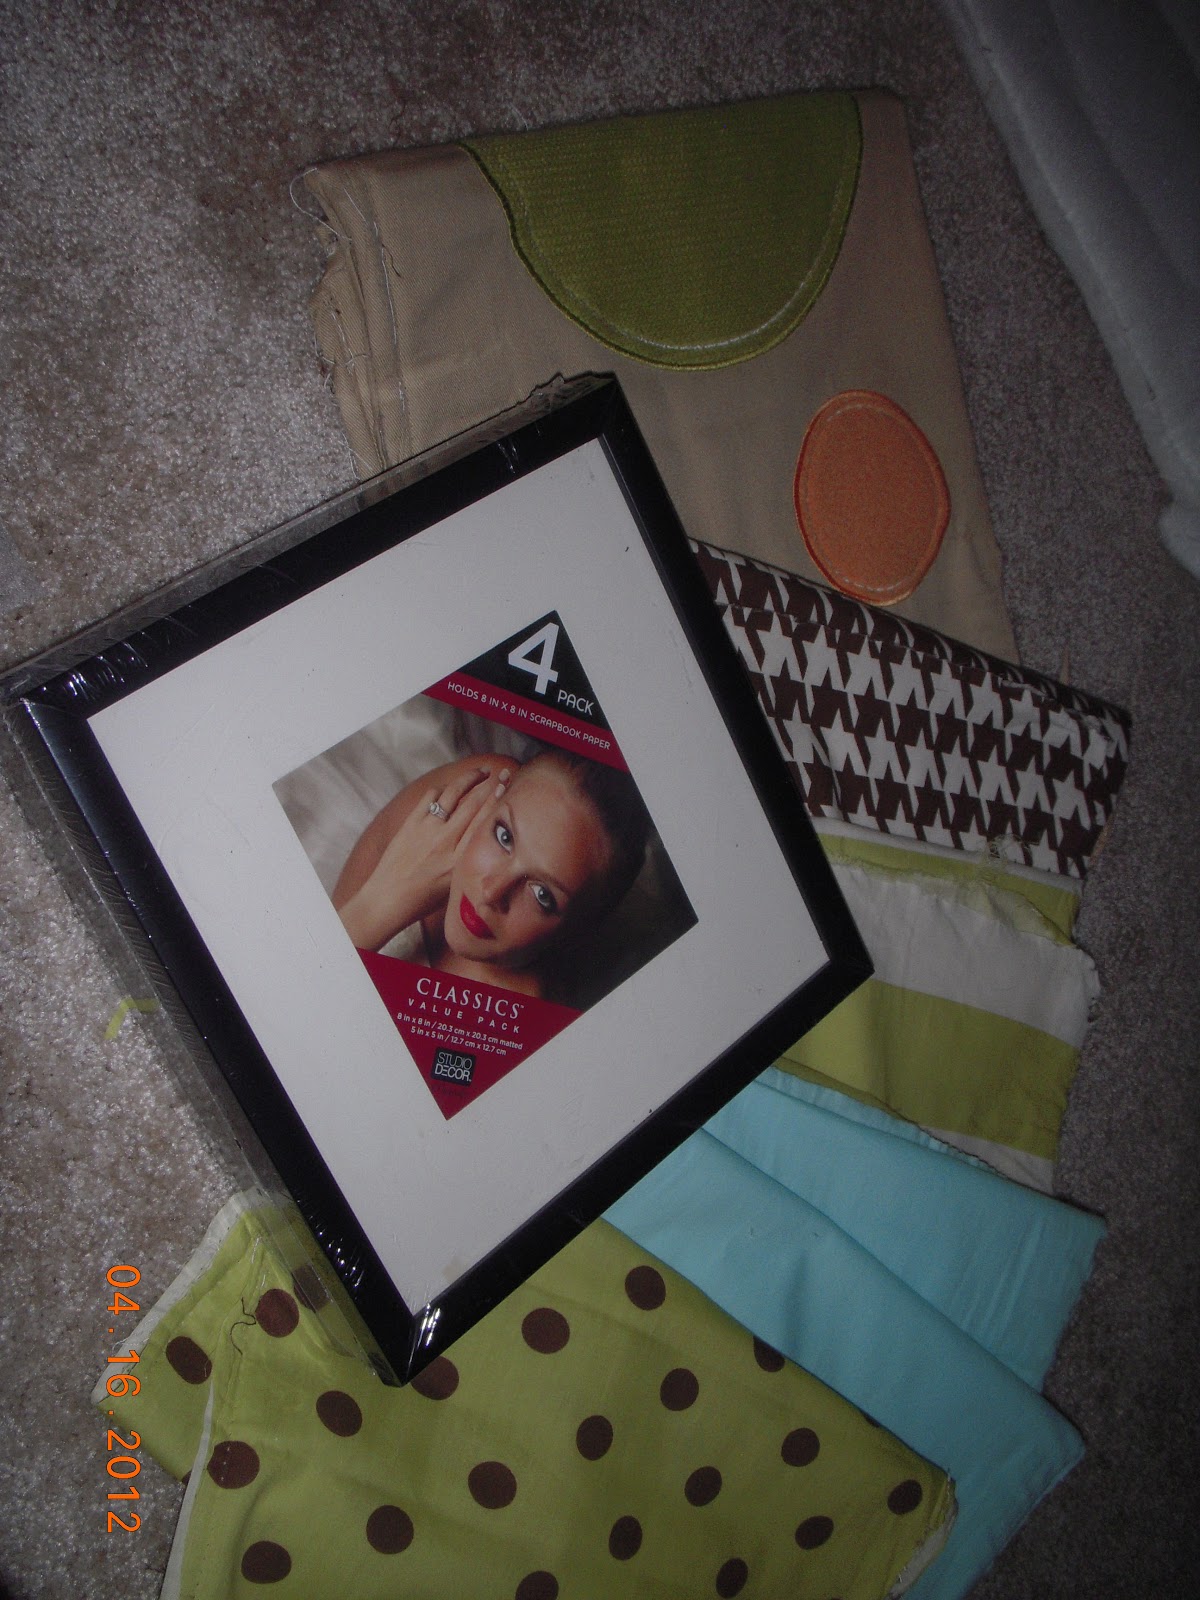
After we (as in Hayden & I- she's such a rock star with scissors for only 4!) cut all the fabric & binding off

I found these frames (10X10 four pack) at Michaels when they had their 50% off all frames sale taking them down to $9.99 a pack- So I got 12 frames for $30! I originally wanted brown to match his fabric, but couldn't find any that werent outrageously expensive. Plus, his other picture in his room has a super dark brown, almost black frame, so I went with it. I contemplated painting them, but decided that'd be too much work! ;)
To trim down the fabric, I just cut out roughly the size then put the frame back on. After the back was on, we trimmed the excess fabric off.
*note- some of the fabric- like the lt blue was really thin, so it was doubled up & still was able to fit fine & trim down in the frame*

Once again- my rock star scissor assistant! :)

AFTER- One frame down (oh yeah- forgot to mention that I took the matting out of the frames to get my 10X10 size)
*Hmm...now what to do with 12 photo mats? ;)

AFTER- the back side of the frame with excess fabric all trimmed

OKAY
Now time to hang on the wall. This was the worst part for me, but actually ended up being pretty simple. I took masking tape (about an inch and a half width) and a level to make a grid on the wall to follow.

I arranged the frames in the order of hanging, so I wouldn't have to worry about it once they were up on the wall! :)

I used these handy lil guys! I love these things- I use them to hang about anything! These frames were super light, not even a pound, so one strip at the top seemed to do it!

First row done- looks crooked in the picture, but it's not I swear! :) My lil helper wanted in on the photo op! :)

All done! Just have to get tape off the wall! :)

FINISHED!! Bed made & nursery all clean! :)


2 comments:
Such a cute and creative idea! I bet I see this pop up on Pinterest pretty soon :)
Hello, this is such a great idea, i loved it!!
I will try to do somthing similar in my living room, in buenos aires
thanks!!
Post a Comment